How to
Activate YouTube Live Streaming
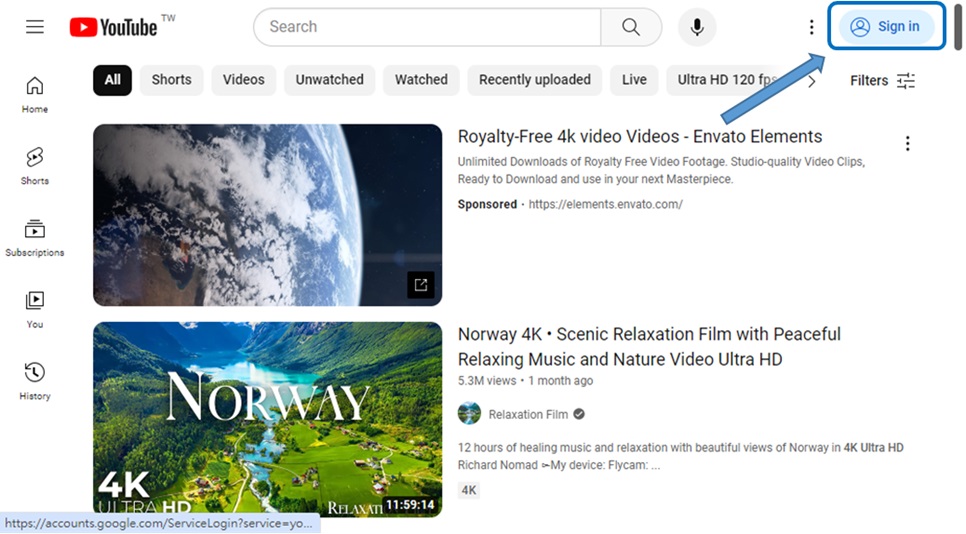
1. Create or Sign In to Your YouTube Account
To use YouTube Live, you first need a YouTube account. If you don't have an account, go to the YouTube homepage, click on the "Sign In" button at the top right, and then choose "Create Account."
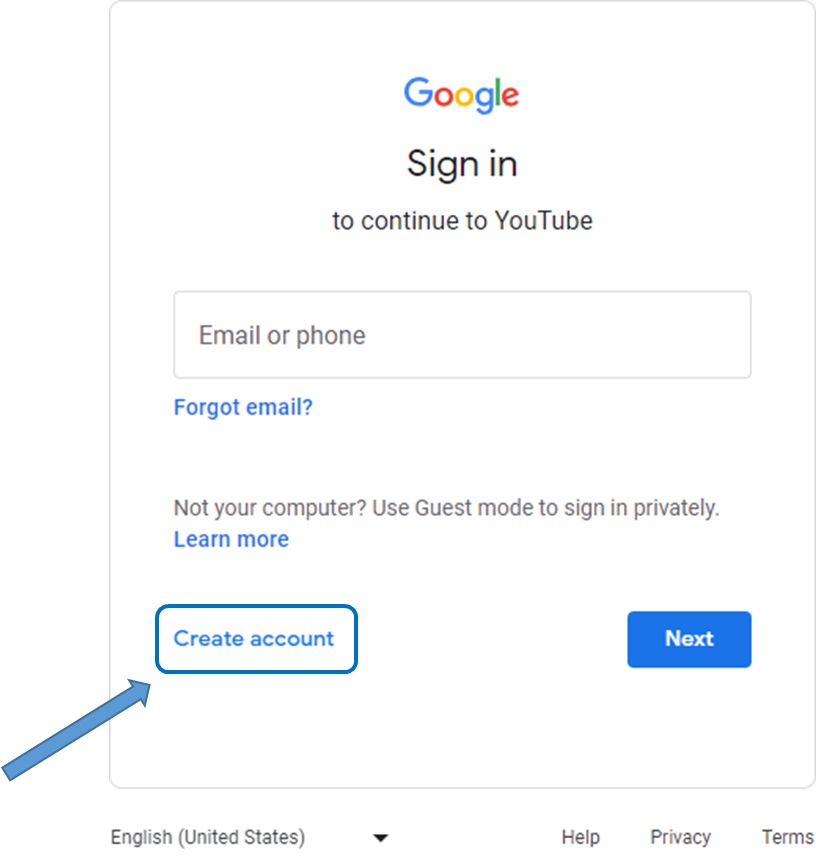
If you already have an account, simply log in.
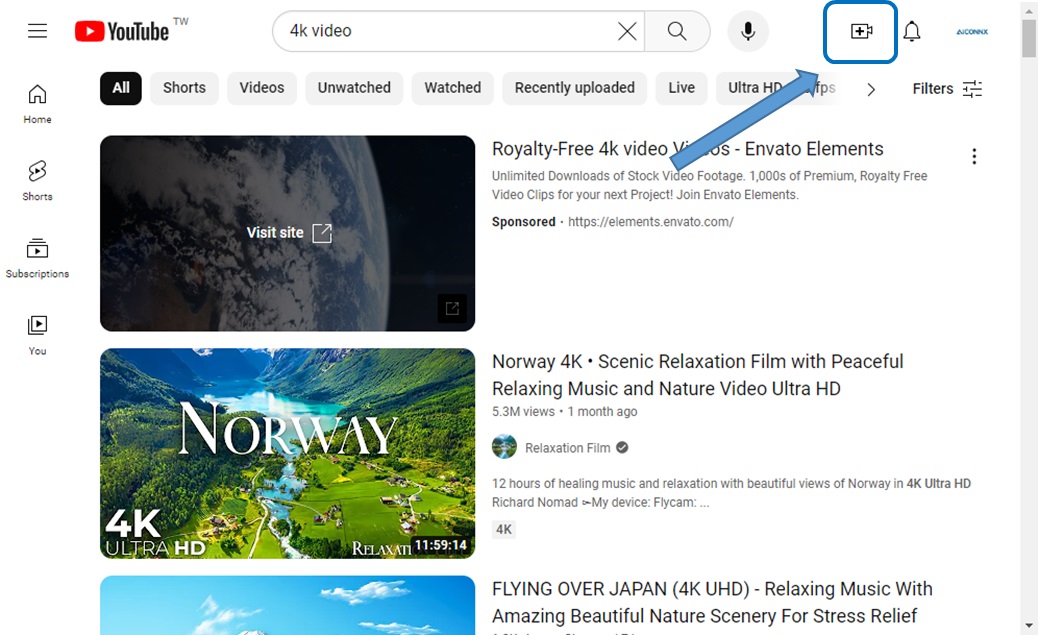
2. Verify Your YouTube Account
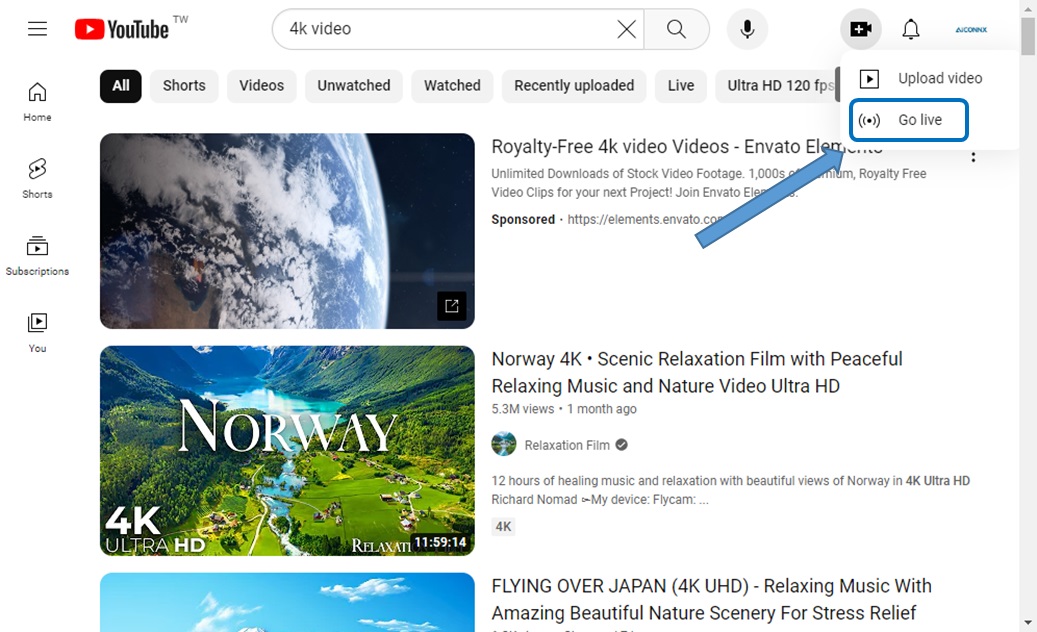
After signing in, return to the YouTube homepage. Click on the camera icon in the top right corner, then choose "Go live." Then, you will be directed to "Request access to streaming" page.
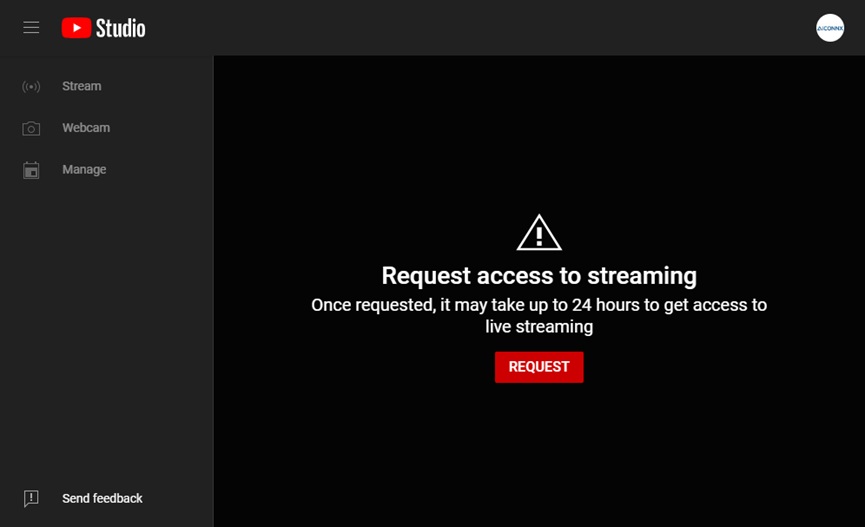
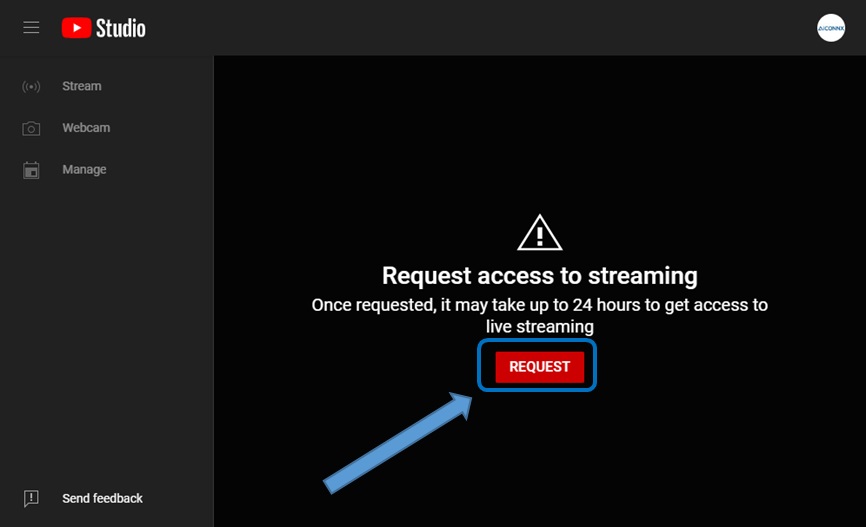
Click "REQUEST" button. This requires verification through a mobile number. The verification process ensures the security of your account and is a prerequisite for enabling the live streaming feature.
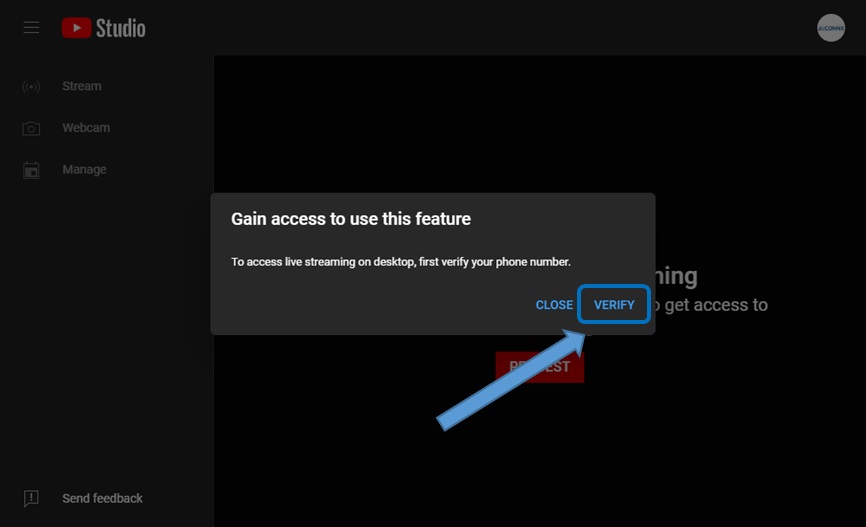
Click "VEFITY" to start verification process
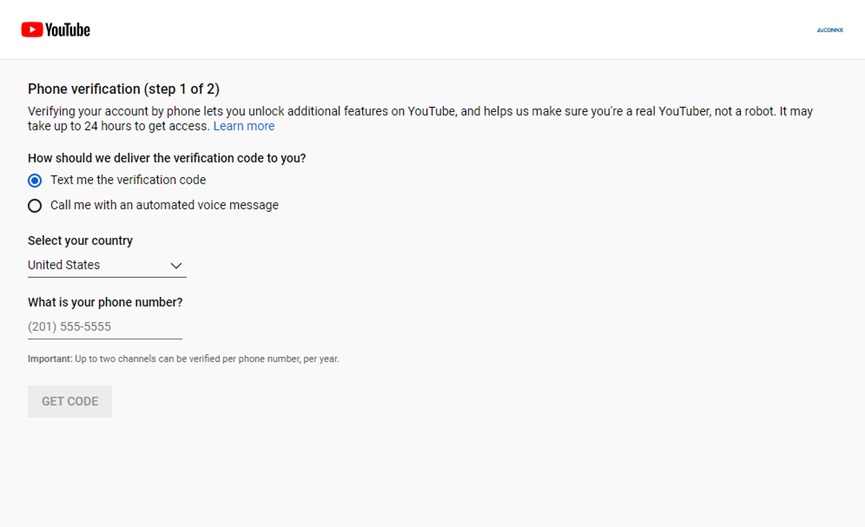
Choose how the verification code should be delivered. Select your country and provide phone number to receive verification code. Then, click "GET CODE".
Enter the received the 6-digit verification code and click "SUBMIT"
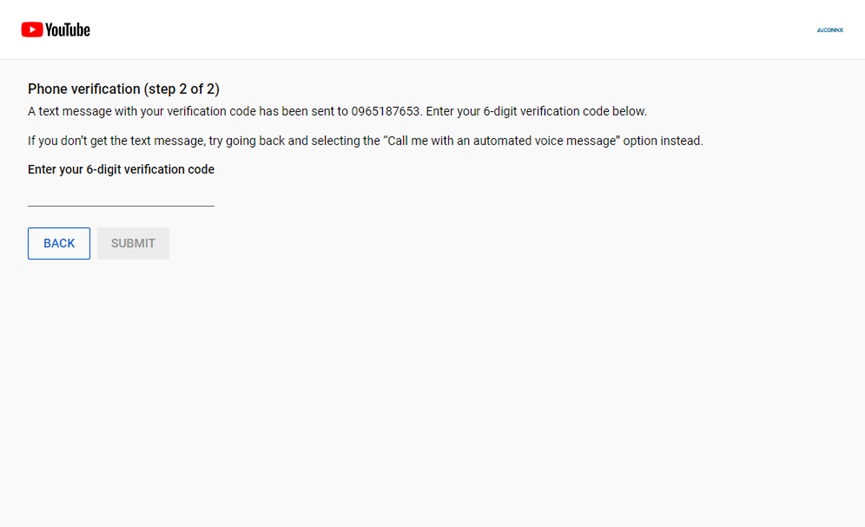
Phone number verified.

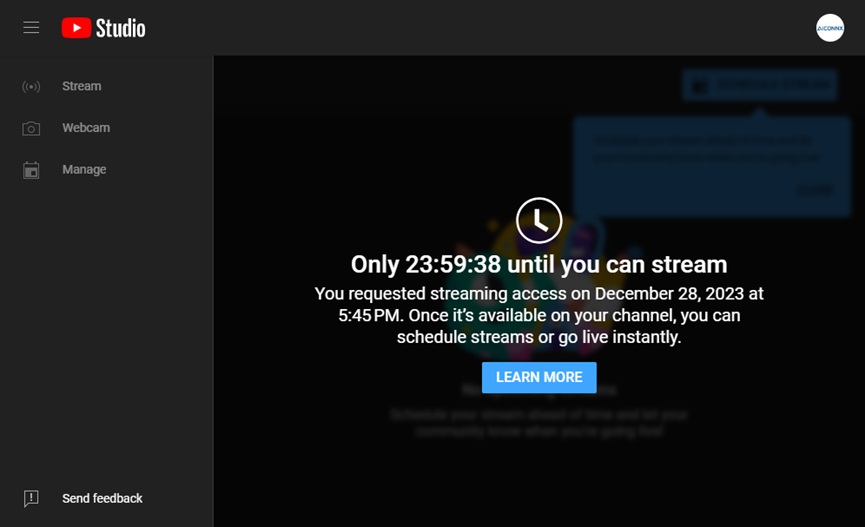
3. Wait for Live Streaming to be Activated
After verification, return to the YouTube homepage, click on the camera icon in the top right corner, then choose "Go Live".


YouTube may take up to 24 hours to activate your live streaming feature. During this time, you can start preparing your live content and equipment.
4. Check Live Streaming Functionality
Usually, within 24 hours, your live streaming feature will be activated. You can check this by returning to the YouTube homepage, click on the camera icon in the top right corner, then choose "Go Live" again. If successful, you will see options for the Live Control Room, indicating that you can now start live streaming.
Tips: While waiting, you can familiarize yourself with YouTube's live streaming guidelines and policies, learn how to create engaging live content, and start designing your live streaming setup.